Optimizing contrast by gradient masking
deutsche Version
Frequently Asked Questions and Tips
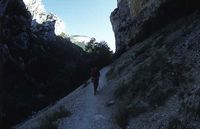
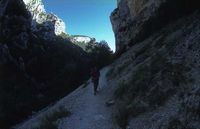
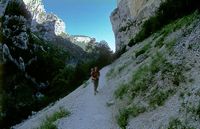
Especially pictures exhibiting a high contrast cannot easily be adjusted to accomodate the contrast range of commonly used output devices.
Better compression algorithms try to reduce big contrast variations while preserving small variation in order to keep detail rendition in the picture.
A traditional technique uses an unsharp inverted mask which allows to manipulate the brightness in dark areas while leaving the bright areas untouched. One of these methods shall be described here: Contrast Masking.
For this classical technique due to the blur of the mask, contrast in small details of the picture is almost kept, while strong brightness changes exhibit bright or dark borders respectively, after the algorithm is applied to the picture.
Many picture editing programs offer a filter that does exactly what is needed (if used with the propper parameters) to create a mask that is blurred only for small details and shallow gradients but keeps sharp edges and steep gradients. In Photoshop it is called 'smart blur'. This allows to reduce contrast in regions of strong brightness changes (-> high brightness gradient) but leave it untouched in regions of small changes and small details.
In a subsequent processing step, the contrast of this mask itself can be manipulated in order to determine where and in which way a contrast manipulation using this mask is to be performed.
I'll skip the details of the individual processing steps here. They
are contained in two Photoshop actions compatible with versions 6 or above
(CS users please looke in the FAQ). One for 8bit-,
one for 16bit images.
You can download
them here.
Thanks to Dieter Michel for translation!
© Erik Krause 2002-2005


