Contrast Blending: Step by step manually
Contrast blending main pageThis is a description of what happens in
the contrast blending actions step by step. The contrast blending technique
might be used with programs other than photoshop, provided they support
masked layers. Many thanks to Jacek Zagaja for the test images. The crop
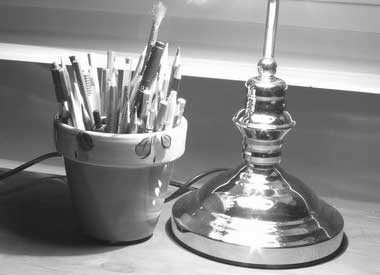
I use here for demo only is from img_2339.jpg found in lamp.zip
(605 kB). Please download for own experiments.

- Open darkest image
- Open lighter images as layers proceeding from darker above the background to the lightest on top.
- create a mask for layer 1 and above (background stays untouched).
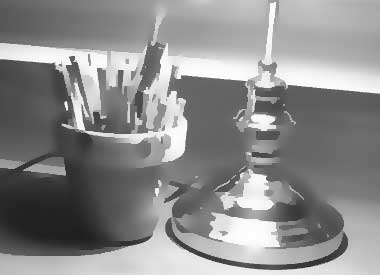
- copy the layer content to the mask, desaturate if necessary. Mask should look like this:
- Use a smart blur filter on the mask with radius: 8, Threshold: 50, Quality: High, Mode: Normal. These are photoshop specific values. They might be different in other programs. However, the mask should look like this afterwards:
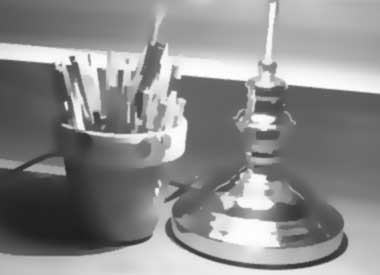
- If the pixel steps in the edges bother you, you can perform a gaussian blur on the mask with radius between 0.5 and 1.0. Please note that the result might be sharpened a bit by this step. Mask might look like this afterwards:
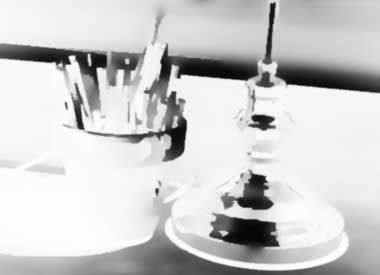
- Apply a curves adjustment to the mask. Curve points should be: point 0: 0, 255 point 1: 128, 236 point 2: 216, 128 point 3: 255, 0
- set layer opacity to 50%.
- proceed with all other layers.


As you can see, small details are blurred as well as low contrast edges. Hard contrast edges are untouched.

The curves dialog looks like this in photoshop:

The mask after curve applied:

© Erik Krause 2004